Today, although it was a cold, cloudy day, and the temperatures were in the 40 degree Fahrenheit zone, I was determined to go on this honeybee journey, and officially become a beekeeper. To help my local community, I established a honeybee hive in the town’s community garden, aiming to make more yield crops while informing young students and citizens about honeybee existence.
In this post, I am going to share my very first experience with the bees and some observations I made, which I hope you can learn from or take note of.
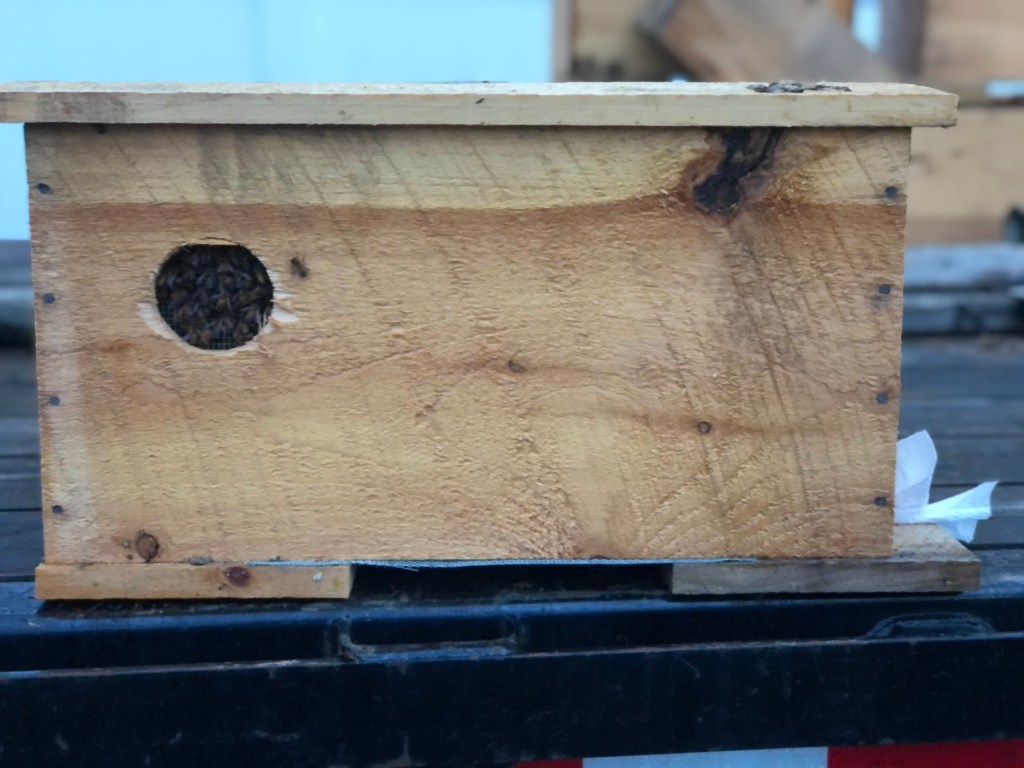
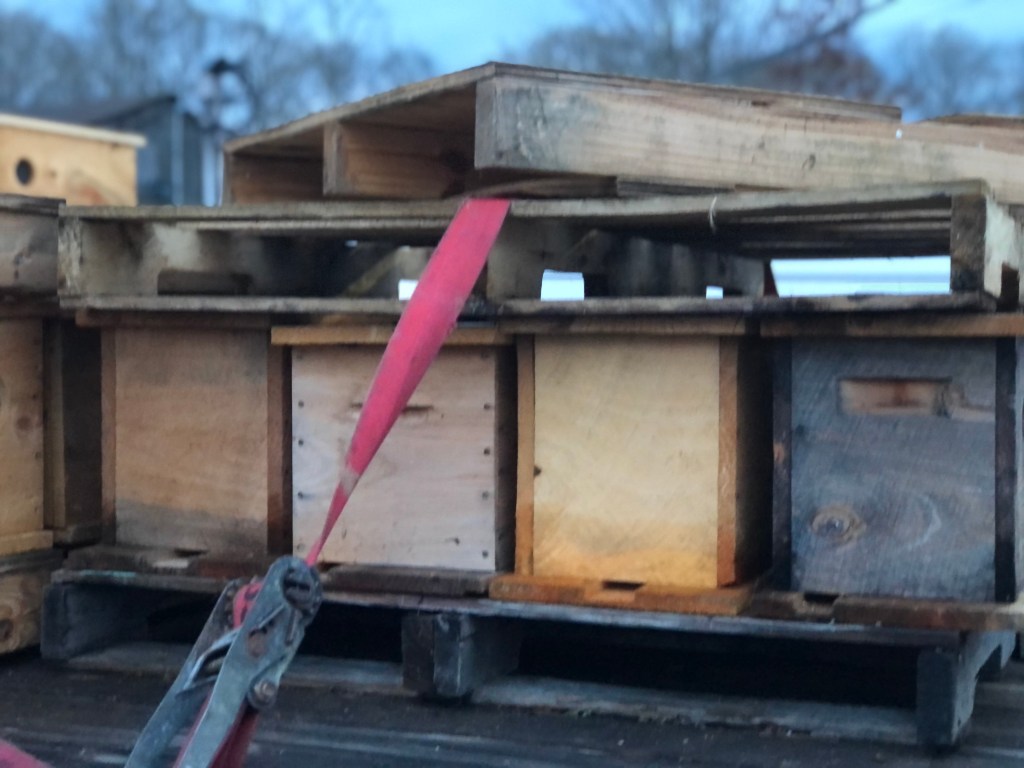
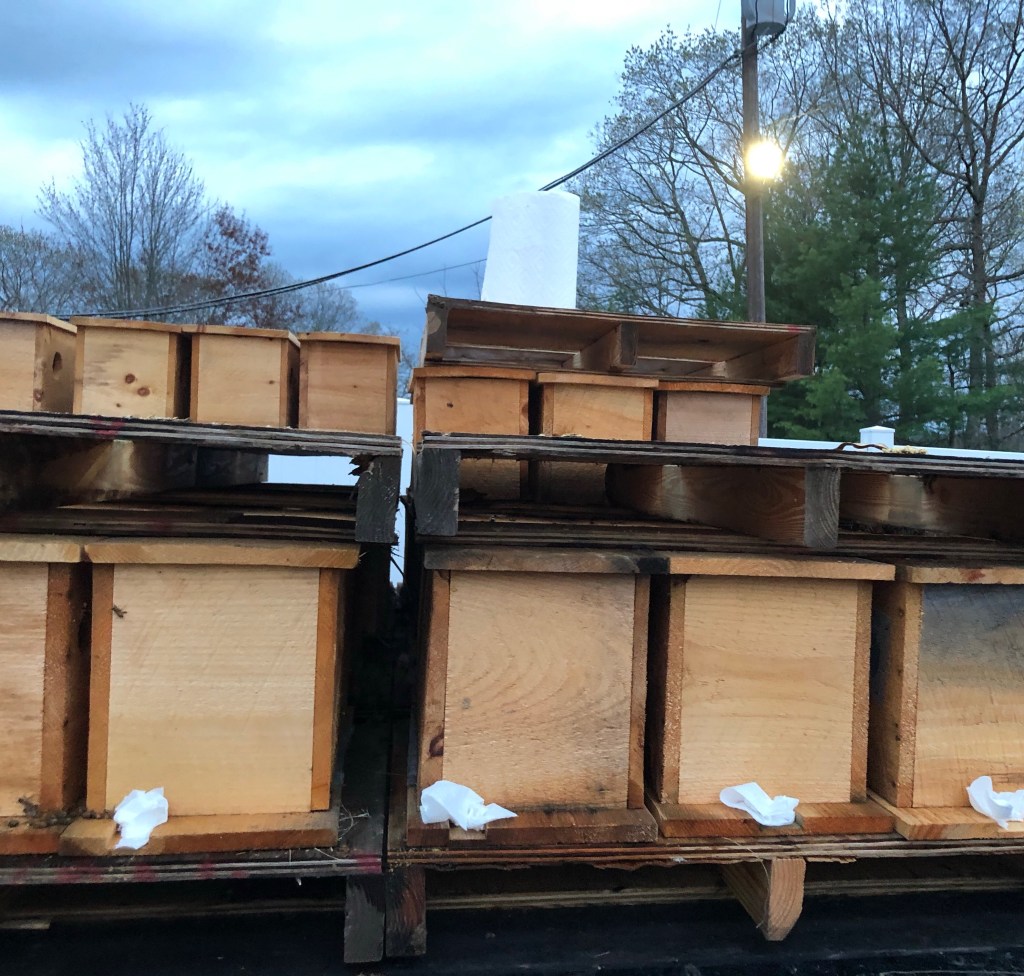
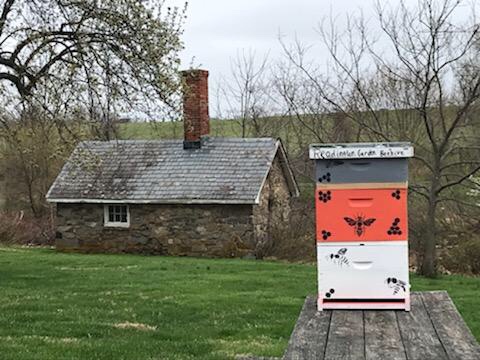
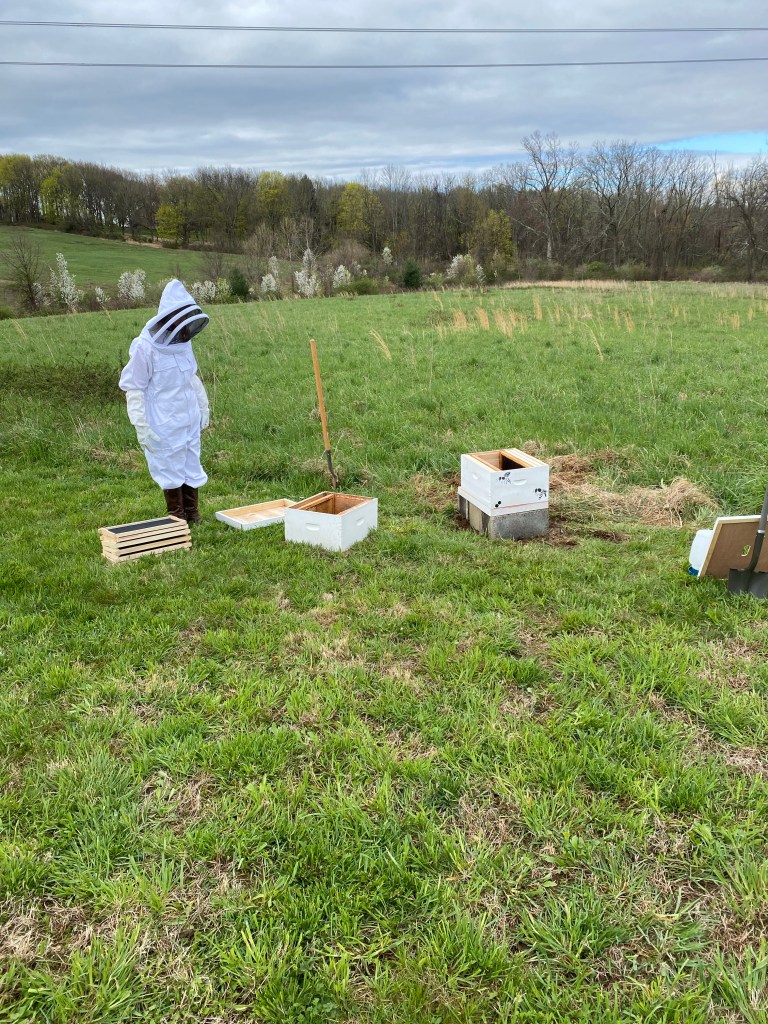
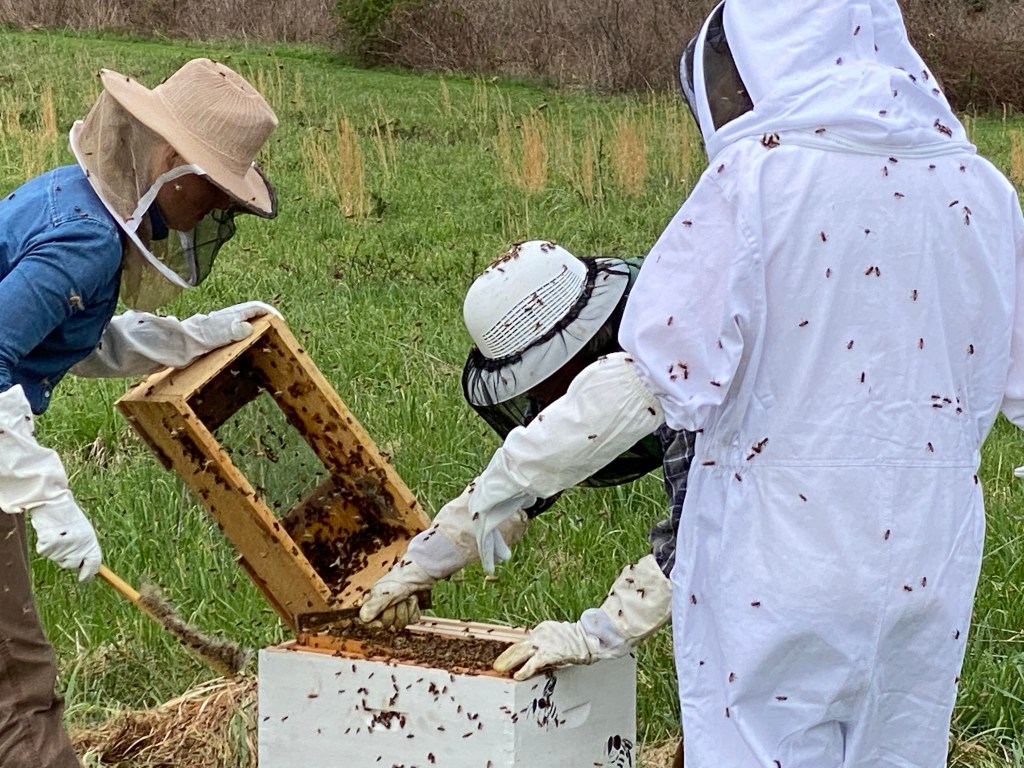
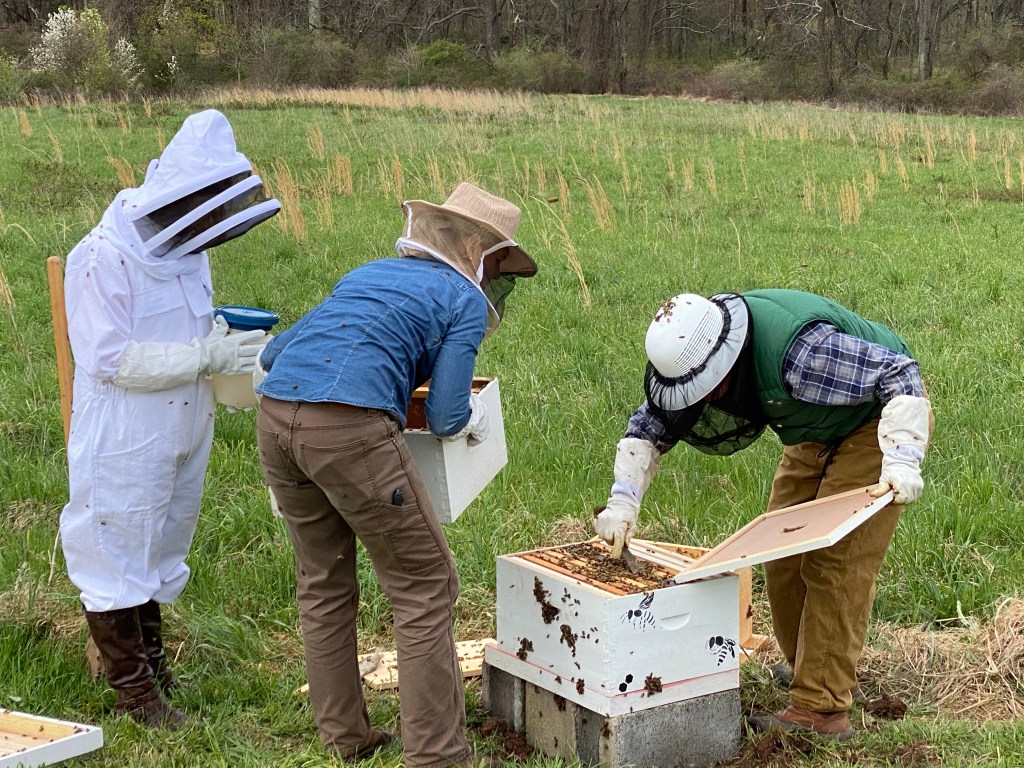
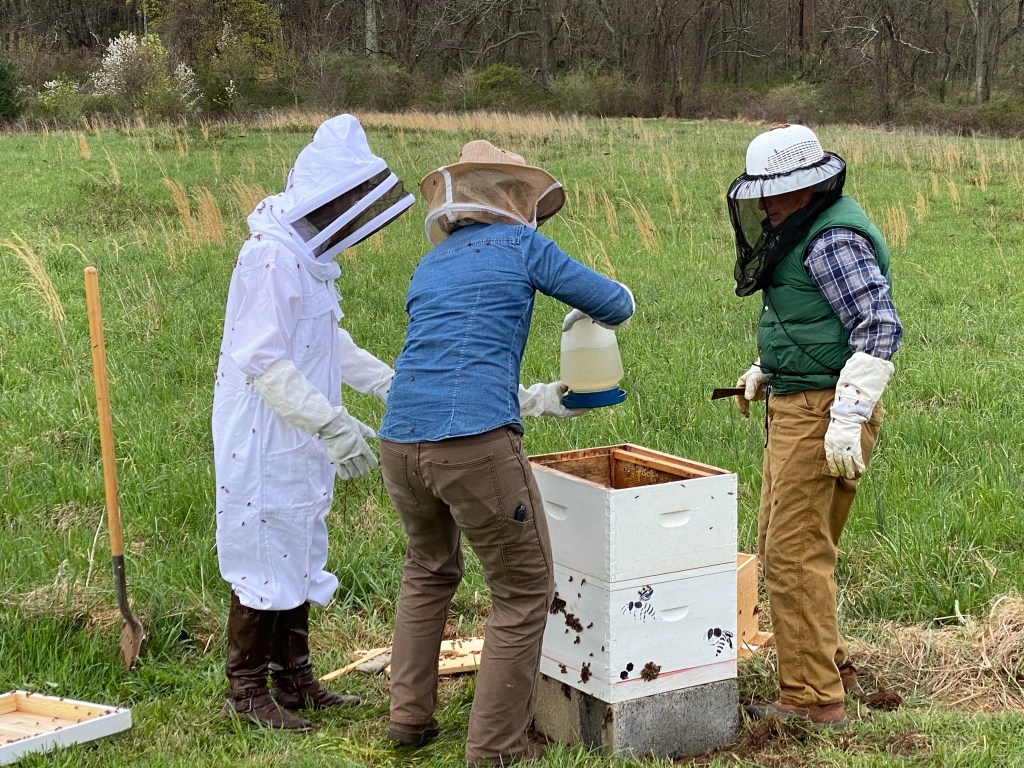
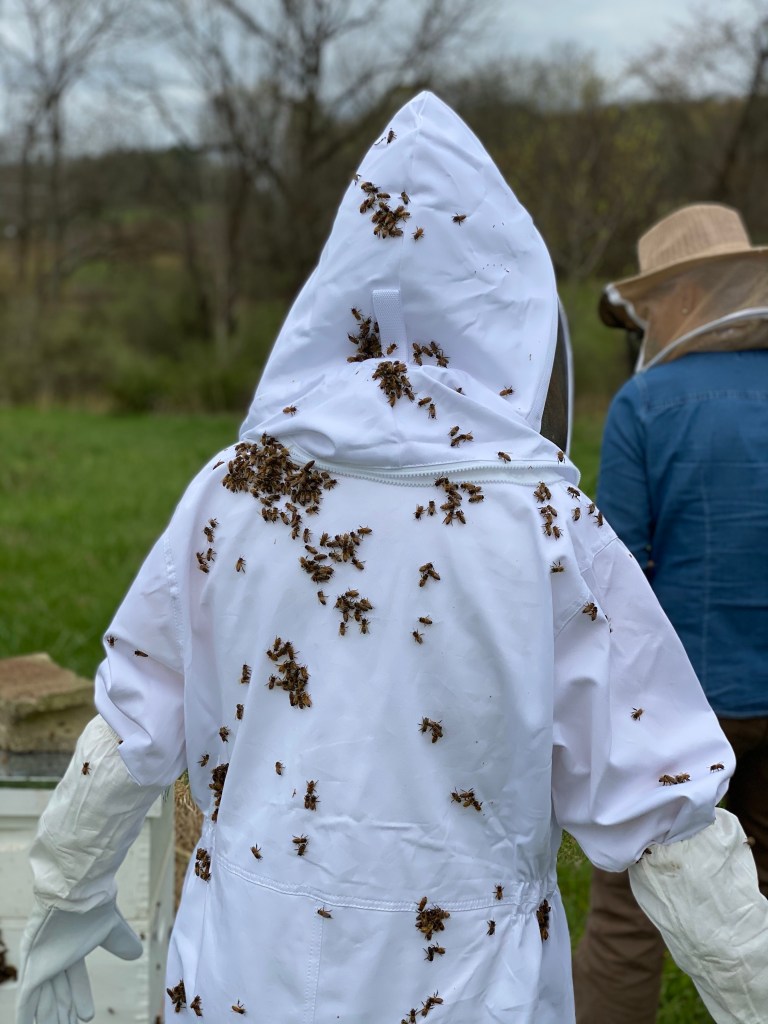
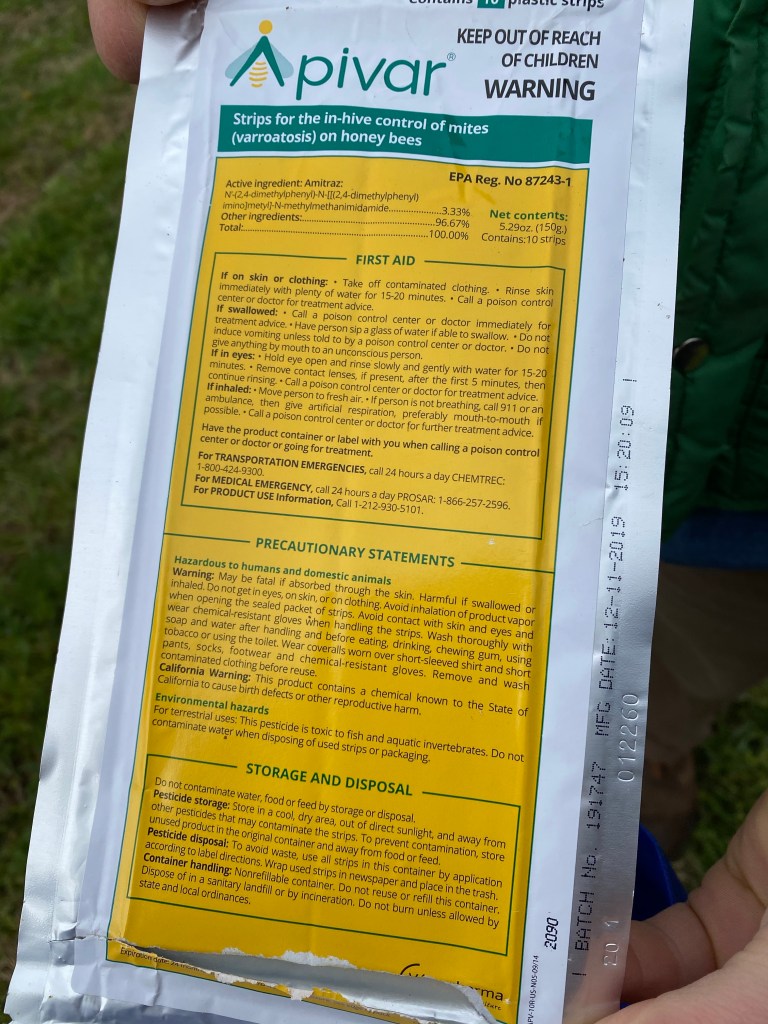
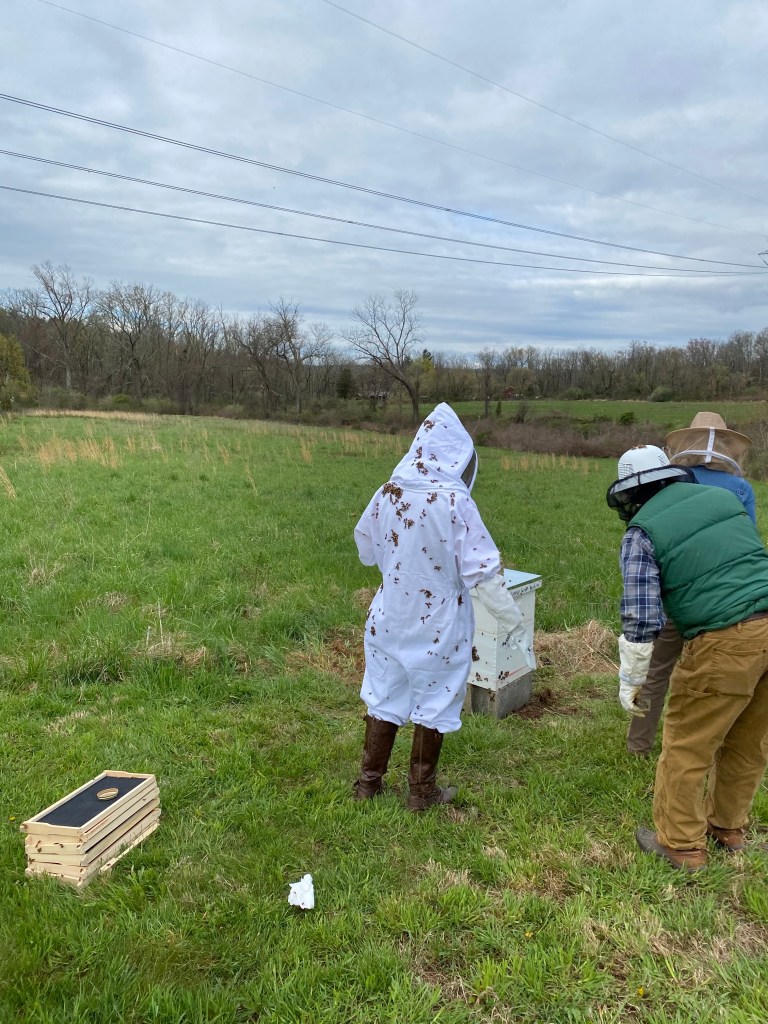
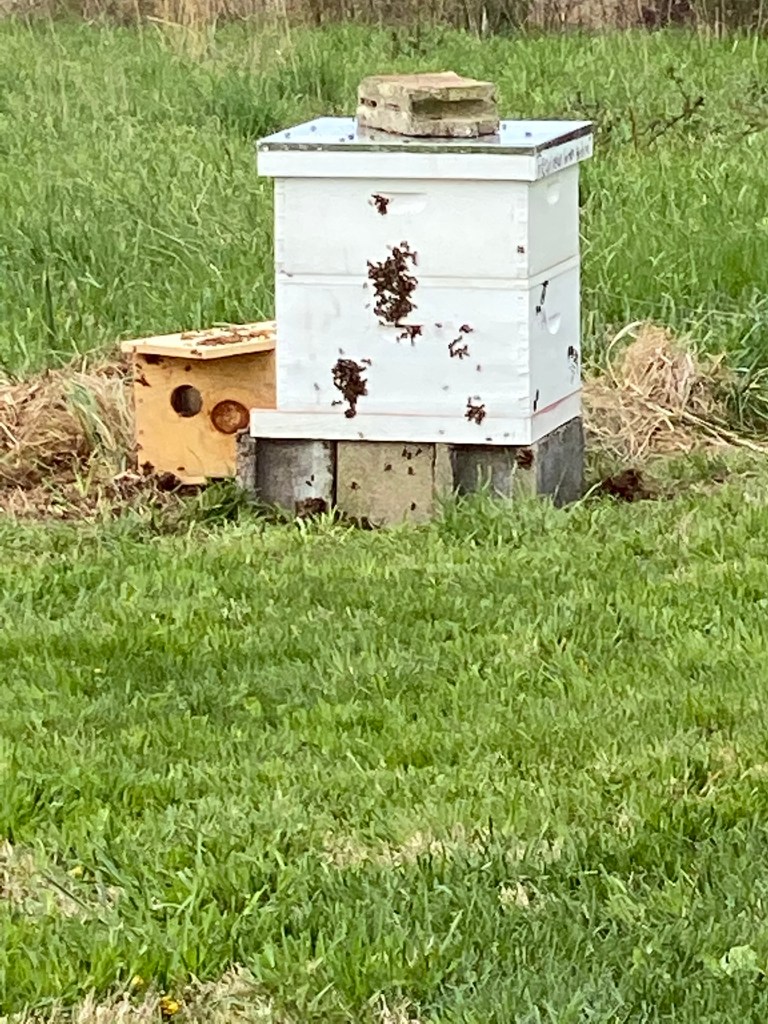
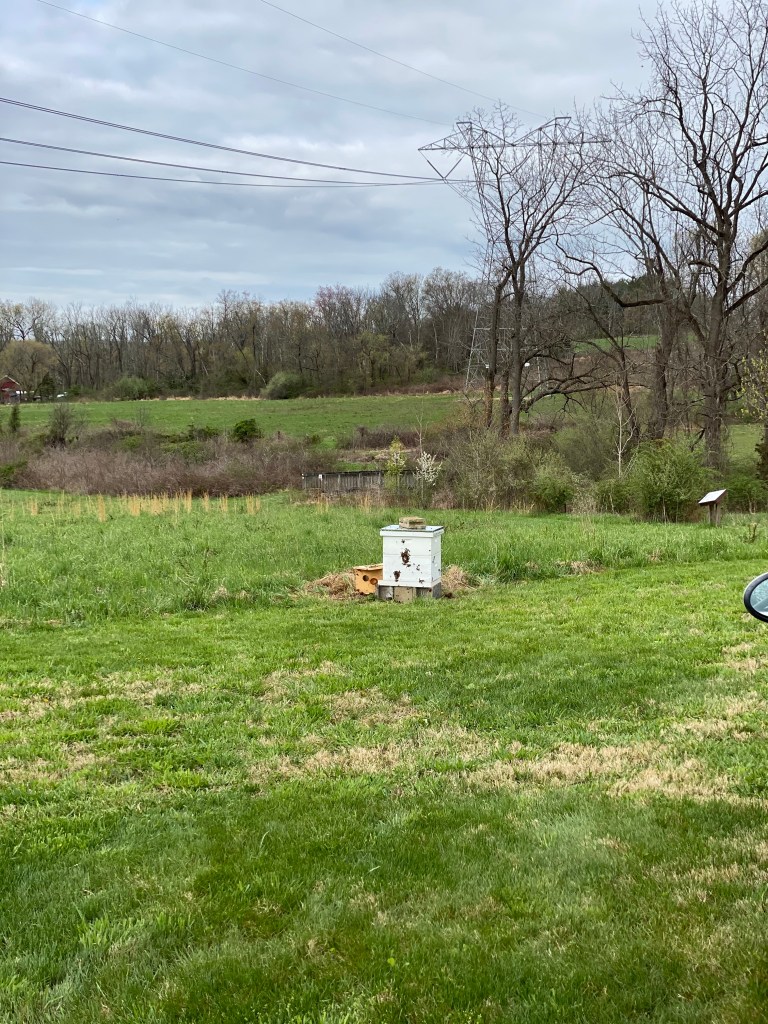
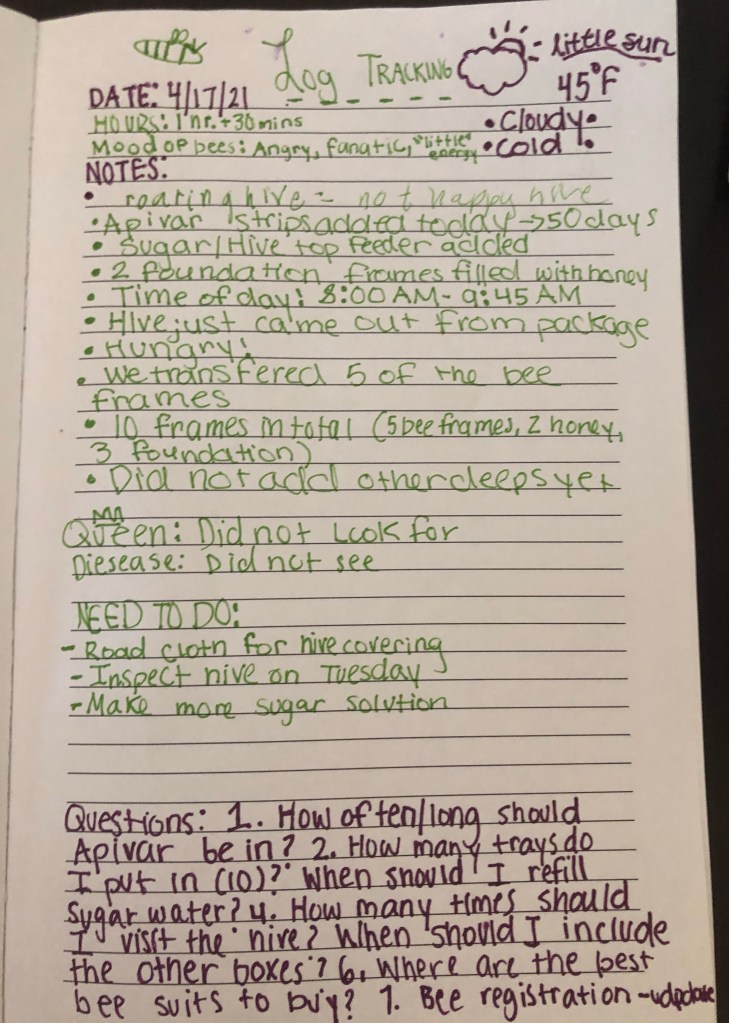
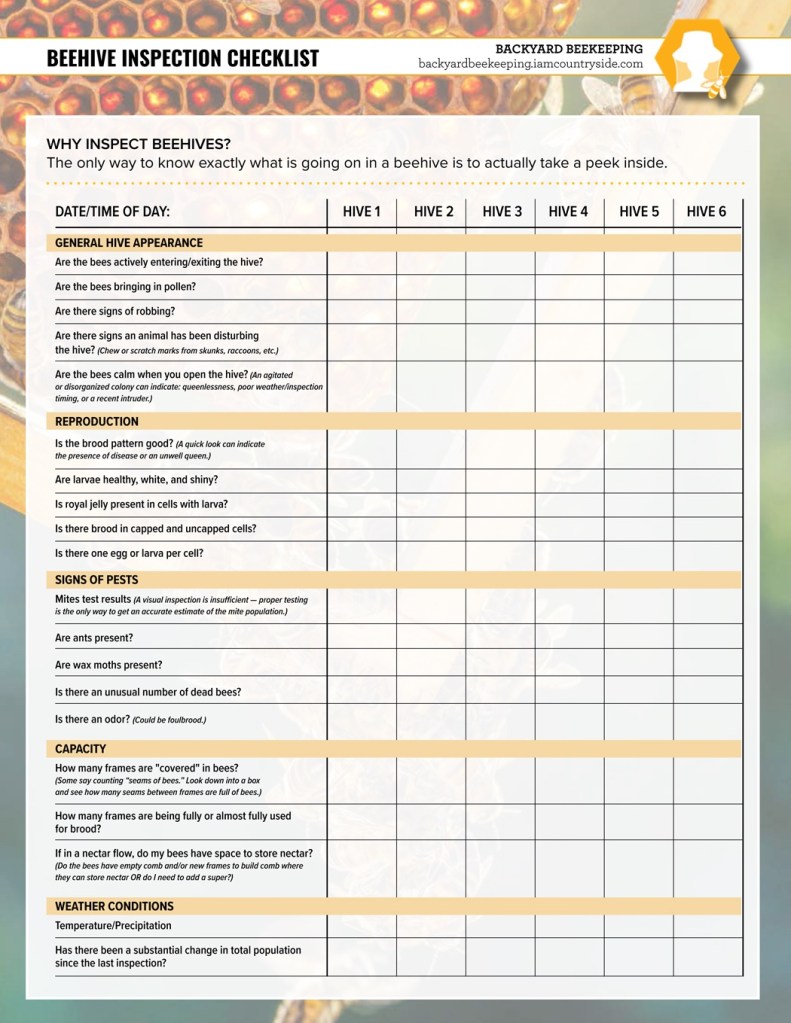
When I picked up the bees or a fully built colony package at my local bee association, they came in a big truck loaded with boxes of bees (above). A tissue was stuck to the entrance of the box to prevent the bees from swarming/flying.Just a couple of the bee boxes strapped on the truck.Look at those tissues- I couldn’t imagine it would hold the anxious bees from angrily swarming out.I purchased a starter bee kit from Amazon, including all the frames/foundation, the screened bottom board, outer cover with inner cover and deeps. Basically everything you need to start a colony. I painted each box with craft paint I found, and bought bee stencils online, then colored it with sharpie. I talked to several local experts, and they said even though the paints and sharpie weren’t ‘environmental’ friendly, through the weather, outdoors, and rain, the toxicity of it would ‘wear out’, being safe for the bees. In my area there were no environmental friendly paints or markers, so feel to take advantage of it if you have some locally.We first patted down and set a location, in the southeastern direction or a southern exposure to insure some sunlight for the bees. Be mindful that the location should have some floral and water sources nearby. We leveled the ground of the location to make sure the hive won’t fall down due to wind or nature. There were some cement blocks nearby, so we put the bottom board and 1st deep super for brood on it. We are also planning to set a ground cover under the blocks such as road cloth, weed barrier, grade gravel, or even wood chips ( this will help roundup vegetation near the hive). We only put 5 of the foundation frames in the deep ( 2 of them were frames filled with honey from another hive), since we will have to transfer the other 5 frames of bees (from the package) also into the deep. In total, we had 10 frames.We first unscrewed the top of the package. With a package, the bees are placed into the hive, from the package. Packages are better than Nucs because the workers and drones are already familiar with the queen so there is no “acclimation” process necessary. Also the colony has bees at all stages of life, from freshly laid eggs and on. Another advantage of the package is it comes complete with honey and pollen, which is important to the colony’s establishment as the colony is productive and can start foraging almost immediately.Some expert beekeeper friends of mine helped with the process. We started gently transferring each frame of the package into the box/deep with the hive tool, until it was filled. The bees were ‘hangry’, as the car ride was bumpy, they have been in the box for a few days now, and had low energy because of the weather. You can tell when a hive is queen-less or angry based on the ‘roaring’ sound it makes and how all the bees are frantically jumping onto you. We puffed the smoker a bit, but they were still grumpy.We didn’t check for a Queen bee, as we were just trying to transfer the colony as quickly as possibly before ‘any bee’ got hurt.The hive tool is the most essential beekeeping tool that you can use in any situation.We wanting to make sure the hive would ‘make it through’ and was fully stable, so we added a sugar water liter mixture or a hive top feeder. To use a hive top feeder, place it on top of the upper brood box, under the outer cover. An empty hive box is often placed around the feeder for added protection from the weather and robber bees. Because hive top feeders are protected from the sun you can add medication to the syrup if necessary. For the spring/late summer, an ideal recipe would be 2 cups of water and 1 pound of sugar.The bees were ALL over me! I was a little freaked out.We added Apivar strips to the deep by hanging each strip between 2 comb frames in the brood area or the bee cluster, with a minimum distance of 2 frames between strips. Then we suspended the Apivar strips in the brood chamber so bees can walk on both sides of the strips. It lasts for 50 days – until you should change it.We carefully brushed (with a brushed tool) all of the remaining bees from the package into the hive (and on ourselves), closing the top of the hive as best as we could.We added another cement block (you can add a rock) onto the top of the hive.So long bees… until 2-3 days for my first inspection!Everyday when I visit the hive, I log and track what I observed in a notebook. I suggest this for new beekeepers. Backyard Beekeeping has a great Beehive Inspection Checklist.
Writer and storyteller focused on third culture experiences, justice, community, identity, and personal reflections. I explore the intersections of society and young womanhood through honest, thoughtful writing.
View more posts
One thought on “Bee Field Day- My First Time!”
What an amazing journey! Thank you for sharing. Good luck with bees


What an amazing journey! Thank you for sharing. Good luck with bees
LikeLike